WordPress Theme Development on Mac
Welcome to the setup of a WordPress theme development environment on a Mac!
WordPress theme development does not have a definite guide. This is what makes it [web development] a creative effort.
Think about the evolving tools of a web developer (which takes place every 2 years), the evolving technologies that a web developer has to learn, and the evolving applications that a web developer has to keep track of — like WordPress.
So with a very coarse outline, you can fine-tune the details to match your project’s requirements. What is important is that the main process and systems are kept in check.
Summary of the Steps Involved
To begin with, please see an over-head view of what’s involved:
- Your Theme Development Checklist
- Your Theme Development Toolbelt
- Your Useful Plugins Collection
- Your Theme Development Testing
I will not cover each and every detail, but in the following article I will provide a bird’s-eye view of what you will have to cover.
Checklist
You can have an entire theme development checklist, and a 6-part guide for you on how to make your own over here.
I thought it would be better to turn it into an email course, so that you take learning out of it over a period of a few weeks.

The WP Theme Development Toolbelt for Mac
- Development Environment
- Text Editors
- Theme Scaffolding tools
- Useful Plugin collection (automated)
- Browser testing (automated for Desktop, Mobile)
Development Environment Tools
There are new trending development environment tools almost every month, that it does prove challenging to keep the tools you currently use. But out of the many out there, these are the top of their tier based on their active communities. Please let me know your thoughts in the comments below.
Development Environment tools you can choose from:
But for now, let’s go with the most recent tool — Local by Flywheel.
Development Environment Setup
All of the development environment tools are free, but we’ll go with Local by Flywheel as it’s easier to begin WordPress theme development. Besides, it was built for WordPress theme development!
We’ll begin with the setup and download of Local by Flywheel.
Installing Local by Flywheel
You can download Local by Flywheel here.
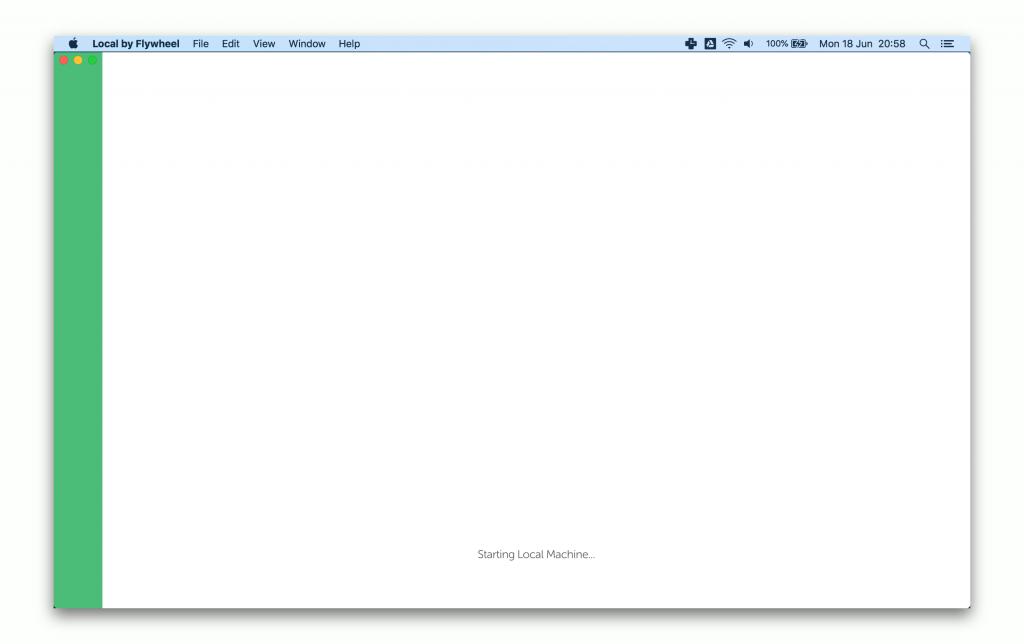
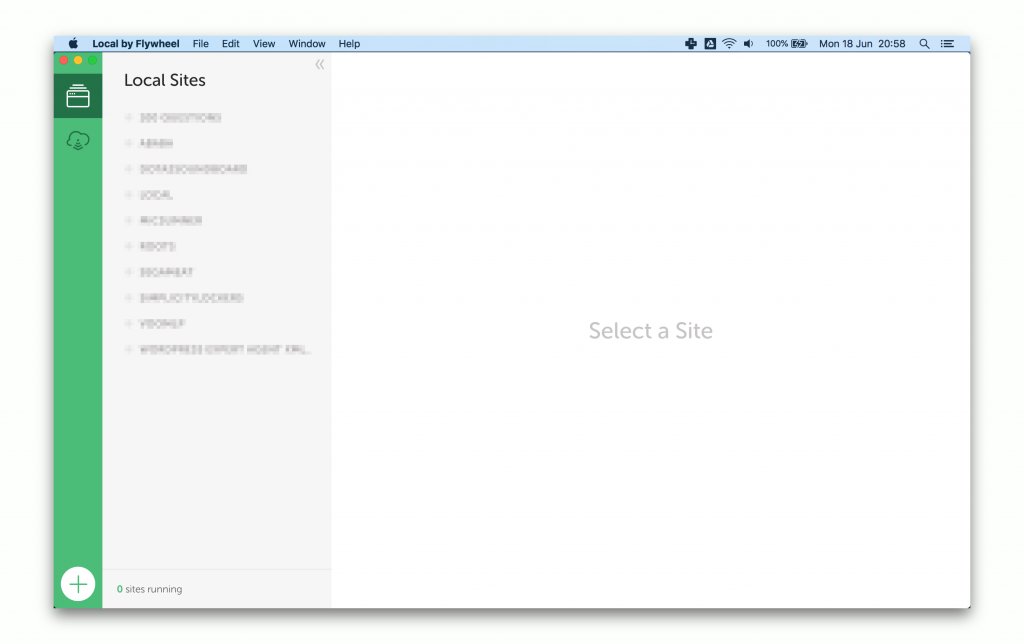
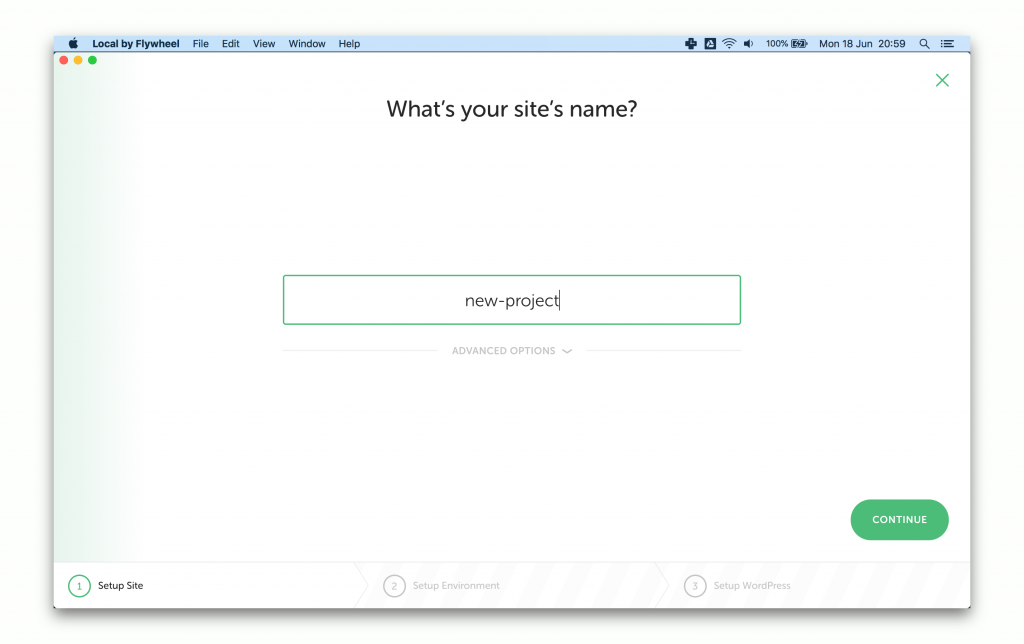
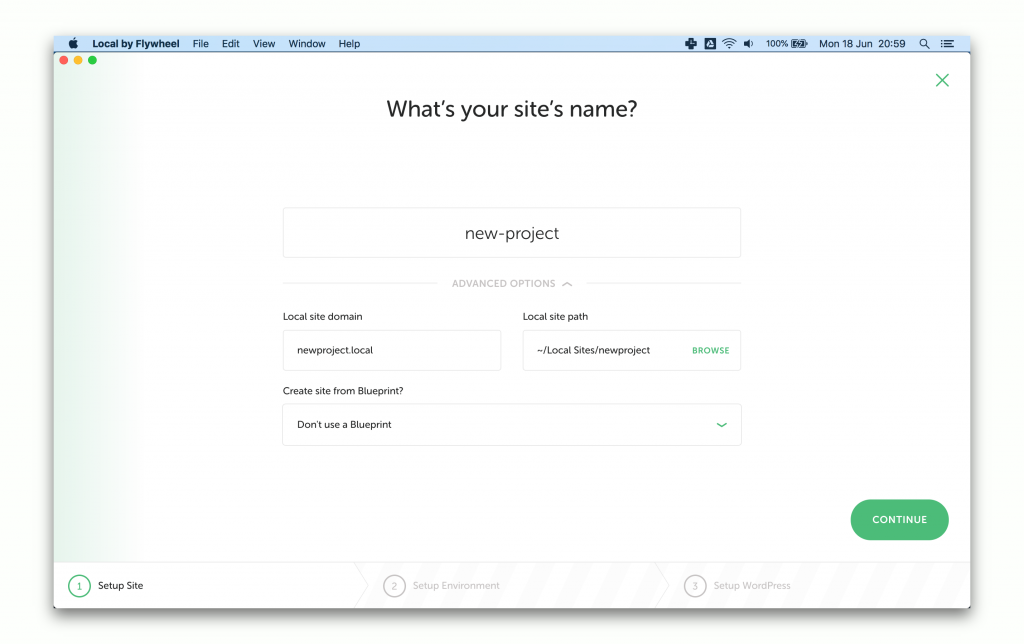
Once you have downloaded Local by Flywheel, open it up. And create a web project!
Starting Your First Local WordPress Website
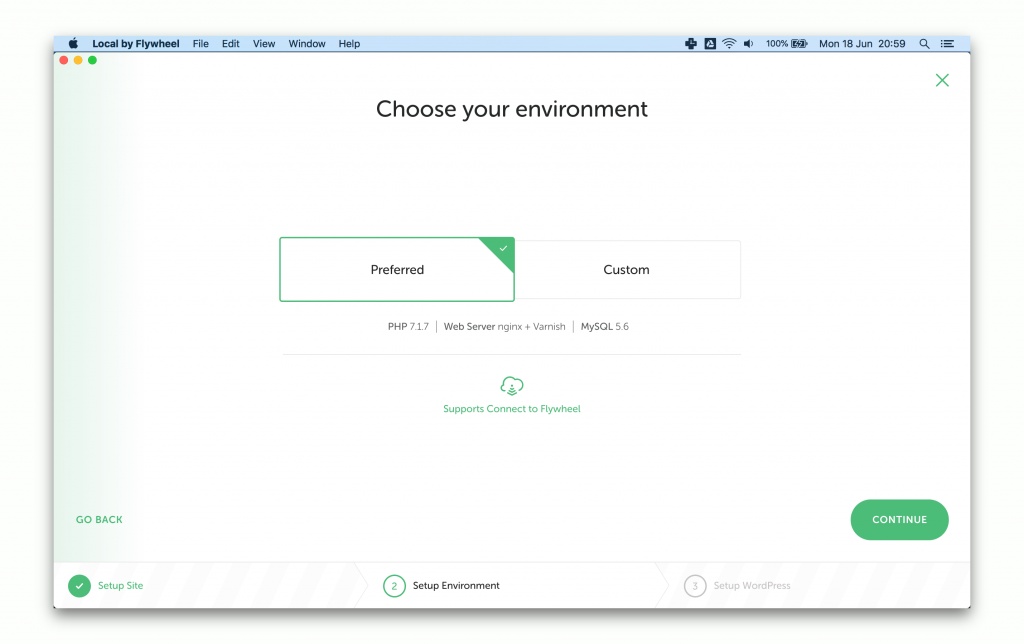
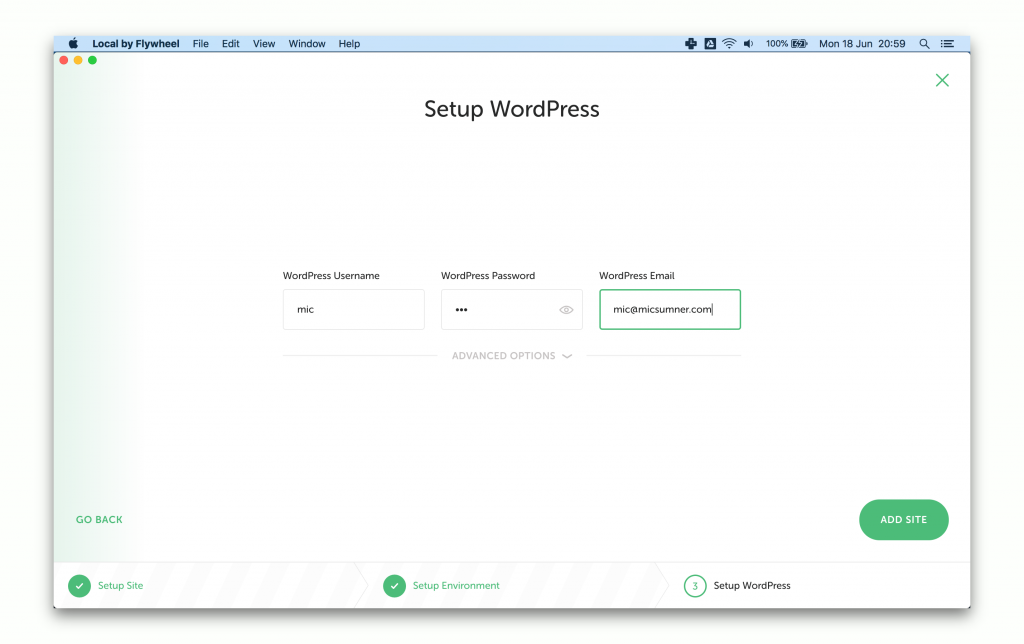
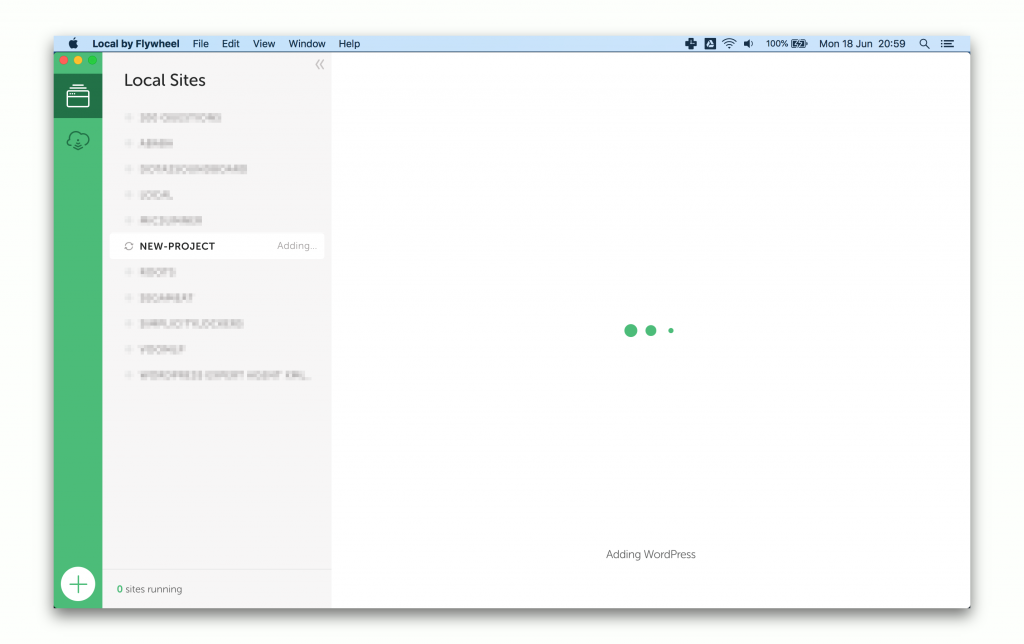
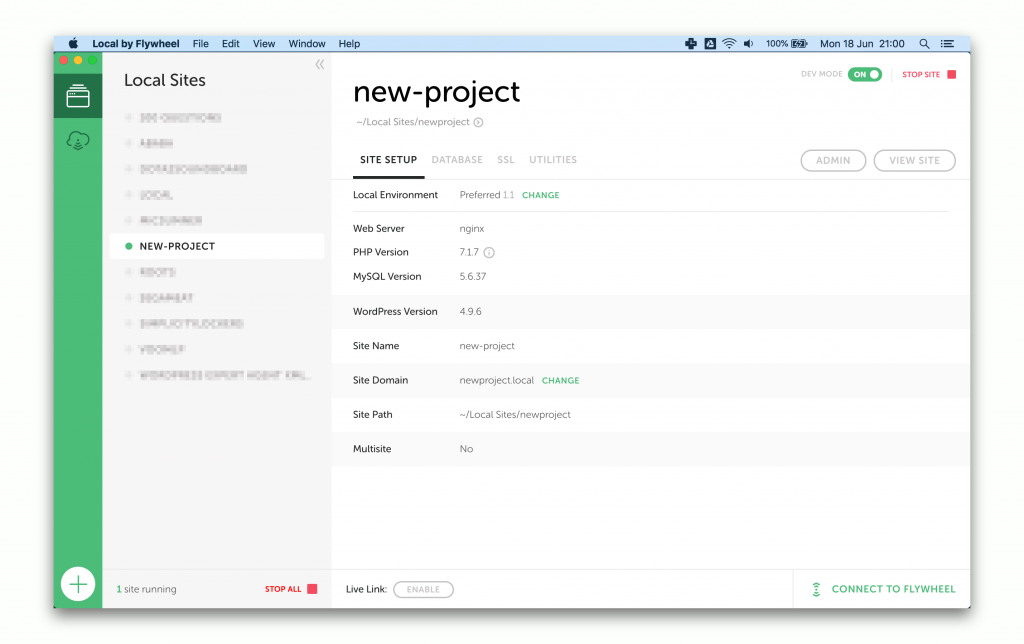
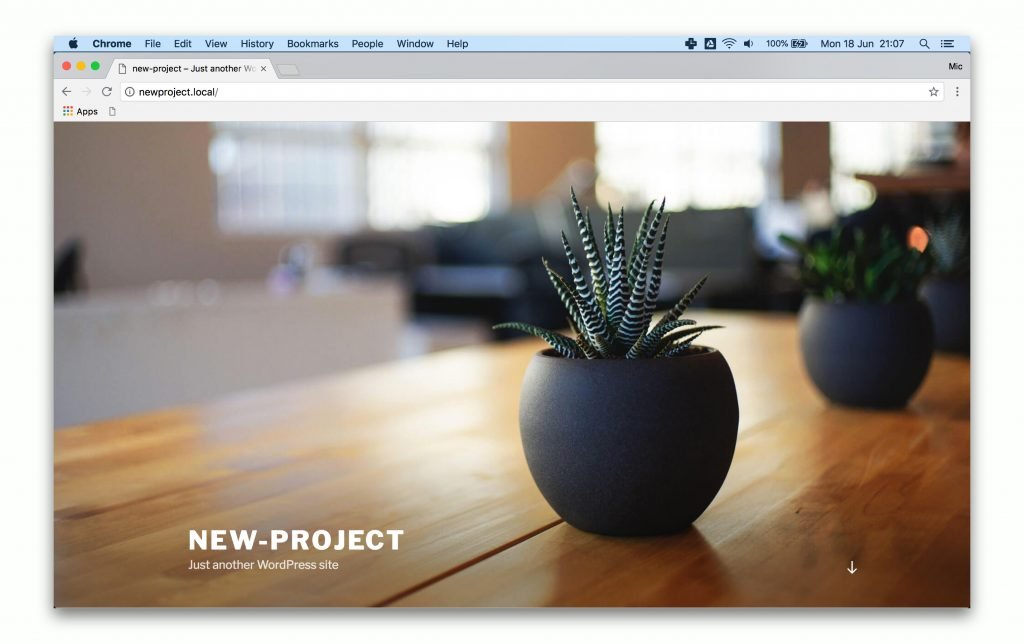
Now, before we continue, we’ll have to find out what text editor to use. You can skip this part if you already have your favourite one!
Text Editor Tools
Just like the many development environments out there, we also have a lot of text editor tools to choose from. Of course, you can skip this if you already have one set up. So please choose from any of the ones below:
Text Editor tools you can choose from:
- VS Code
- Atom
- Sublime Text 3
- Vim
For now, we have chosen VS Code as it seems to be a promising community founded by Microsoft, who have recently [4 June 2018] acquired GitHub. Nevertheless, almost all text editors are equal in their nature — a text editor. It’s how the web developer finds it comfortable to use and easy to navigate which are more important than choosing the ‘best’.
Theme Scaffolding Tools
There are many ways to start out with a WordPress theme.
But first and foremost it is better to begin with a starter theme, rather than building files and setting up from scratch.
Please have a look below between the Yeoman scaffolding generators to choose from, or the Sage theme. Both of which provide you a 10,000-hour head start in theme development.

For the easy and simple builds, use Yeoman scaffolding tools
Through the power of Yeoman.io, there are many scaffolding tools for you to choose from.
Here are some of the ones for you to try and have a look for what you would like to use best:
You can search Yeoman.io > Discovering Generators for more of these scaffolding tools.

For the ultimate theme organisation, the Sage theme
The Sage theme is the right one for you, if you require more organisation in your theme, which includes modern integrations between staging/development/production of a theme, then Sage is the right one for you.
For this professional perspective, the Sage theme is still completely free. But it does come with plugins to make your theme even more organised and more intuitive.

For the most active community, the Sage theme
This goes without saying that if you are into WordPress theme development, then the Sage theme is by far the most active community when it comes to developing WordPress themes using a starter theme.
The community here have gravitated towards the Sage theme as the hub for modern WordPress theme development. You can view the Roots community forum here.
For now, however, we will be using the Yeoman scaffolding toolnpm-wp-s-theme by mnyorba, for it’s ease-of-use and simplicity.
Setting Up Your Theme Development Files
This chosen yeoman generator/scaffolding tool is great for WordPress themes. You can check it’s ever-growing list on its github repo.
Running the Yeoman generator’s command
We’ll start setup of your theme files now.
Using your terminal, go into your /wp-content/themes/newtheme folder, and paste in the command found in the chosen Yeoman generator:
yo npm-wp-s-theme
You will now get to setup your Theme name, description, etc.
Here’s a good setup you can use:
Localhost address:		localhost
Domain site:			[enter key]
Theme Name: 			New Theme
Theme slug: 			nt
Theme URI: 			http://newtheme.com
Author: 			Michael Sumner
Author URI: 			https://blog-internal.sumner.co.uk
Author email: 			[email protected]
Description: 			A robust theme for New Theme website.
Bug Report: 			https://blog-internal.sumner.co.uk
.gitignore file: 		Y
.editorconfig file: 		Y
.stylelintrc file: 		n
.npmrc file: 			Y
configuration: 			Y
Once complete, you will now have a bare-bones starter theme ready to build upon!
You may install Bootstrap if you wish, a very popular framework that provides basic styling and SCSS variables from which you can modify.
Installing Bootstrap
Very quickly, you can use the following command within your ‘newtheme’ folder:
yarn add bootstrap
That will create a node_modules/bootstrap folder for you.
Now, let’s add the entire bootstrap stylesheet into your theme’s main stylesheet. Because at the moment we only have basic WordPress CSS taken from the Underscores theme that came packaged with this Yeoman generator.
To do so, go to your scss/style.scss file, and rename the ‘Normalize’ section into ‘Bootstrap’. Also, change the path to:
@import ../node_modules/bootstrap/scss/bootstrap
That way, you can load the entire bootstrap.scss file found there!
Anyway, the Bootstrap stylesheet comes with Normalize.
What we’ve got so far
Now, we’ve got a starter theme with Bootstrap stylesheet loaded onto it.
To begin your WordPress theme development, use the following command:
npm run watch
As defined by that Yeoman generator, this command will automatically watch your files to see if you save them, then it will reload your browser tabs that are running on the localhost:3000 proxy.
You can take it from here!
If you need any more help please reach out to me in the comments below.
Useful Plugin Collection (Automated)
In a recent article, it is absolutely free for you to create your own collection of WordPress plugins, so that you can install them as you wish.
This automated way of installing plugins comes from the plugin WP Core.
Why Build Your Own Plugin Collection
That way through using the WP Core plugin, it makes it really quick for you to install many plugins.
As compared to dragging and dropping each and every one of the plugins into the ‘Upload file’ input field in the WordPress Dashboard > Plugins > Add Plugins admin page, which surely becomes a hassle for WordPress theme developers!
Through using WP Core, you simply have to install that 1 plugin — WP Core — and add your collection key. As an example, use the collection key8WsiniJpCfxYkLLExEXN for a list of essential free WordPress plugins.
Steps to Install a Group of Plugins Easily
- Install the WordPress plugin WP Core.
- Go to the plugin’s Settings, and paste your collection key.
- Visit the WP Core website to find your collection key.
- And click ‘Save’.
- Afterwards, you will be prompted to install the plugins.
- Select which plugins to install, and click ‘Install’.
- Now, select what plugins to ‘Activate’ for now.
- And you’re done!
- You can delete the WP Core plugin once you are done.
Browser Testing (Automated for Desktop, Mobile)
You need to get your users seeing the right layout, therefore browser testing is important.
To easily get into this, browsers have a feature called Remote Debugging.
This is split between remote debugging an Android mobile device, or remote debugging an iOS mobile device.
Remote debugging an Android mobile device
Follow this guide to easily set up remote debugging on the Chrome browser, connected to your Android mobile device.
You can also check this video out:
Remote debugging an iOS mobile device
For an iOS mobile device, you can try out the instructions found here.
Note: you may want to use the Safari browser in lieu with remote debugging your iOS mobile device.
The Easiest method to testing on mobile devices
Of course, this is the easiest method, which is to simply resize your browser screen. However, this does not make it a true-users’ experience, as there are likely to be differences.
On Chrome, you can use Toggle the device toolbar to simulate the mobile user’s experience.
The good thing is that browsers are getting smarter in simulating a mobile device. Of course, nothing is truer than an actual mobile device.
But for the most part, you will do well with this.
Difference With Using the Browser’s Device Mode Compared to an Actual Mobile Device
It is difficult to imagine the overall user’s experience with the entire website on their hand.
Also, you may not see the mobile browser toolbarfrom which you can change its background colour.
Having an actual mobile device makes it easier to focus on the entire user’s experience, as well as empathise what a mobile user will be experiencing.
Conclusion
WordPress theme development comes in different environments. It’s not a one-size-fits-all approach when it comes to web development. But that is where creativity shines in the developer.
I hope that this coarse guide will get you digging into WordPress theme development. So that you can choose a setup that works best for you.
The technologies here may or may not last for long.
But what is certain is that the quest for optimum theme development keeps evolving to become simpler, more developer-friendly, and better to empathise for the User Experience.
Thank you for reading this article, and have a good day!
If you’re a digital agency, I have a gift for a FREE 6-part email course on Agency Automation for WordPress Theme Development. Please do check it out!